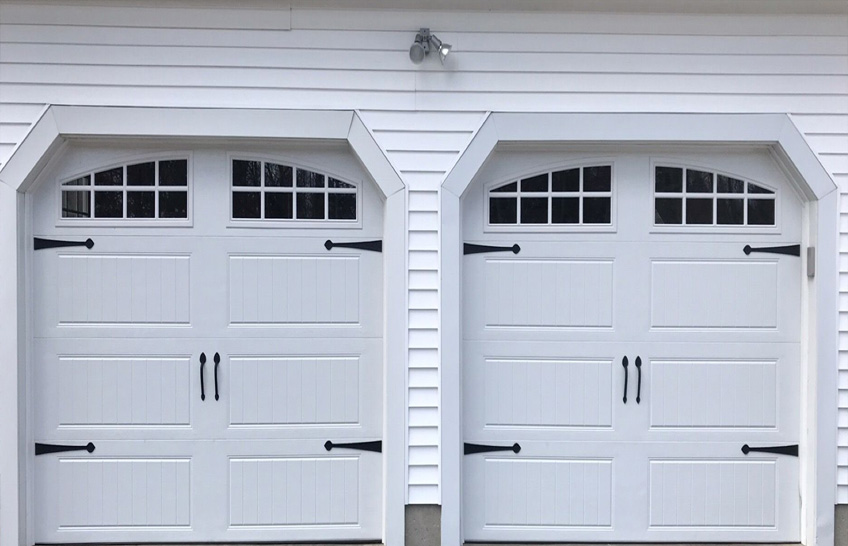
Introduction: Are you tired of manually opening and closing your garage door? Installing a garage door opener can provide convenience, security, and peace of mind. However, tackling this project requires careful planning and execution to ensure optimal performance. In this guide, we’ll walk you through the process of garage door opener installation, covering everything from preparation and tools to programming and troubleshooting.
Preparation: Before diving into the installation process, it’s essential to gather the necessary tools and materials. You’ll typically need a power drill, wrenches, screwdrivers, level, ladder, and safety equipment. Additionally, review the manufacturer’s instructions provided with your garage door opener to familiarize yourself with the installation steps and requirements.
Installation Steps:
- Measure and Prepare: Begin by measuring the garage door’s height and ensuring that there is sufficient clearance for the opener mechanism. Clear any obstructions in the garage and identify the location for mounting the opener unit.
- Assemble the Opener: Follow the manufacturer’s instructions to assemble the garage door opener, including the rail system, motor unit, and other components. Use caution and refer to the provided diagrams to ensure proper alignment and orientation.
- Mounting the Opener: Securely attach the opener unit to the ceiling or wall, ensuring that it is level and stable. Use appropriate hardware and follow the recommended spacing guidelines provided by the manufacturer.
- Install the Rail System: Attach the rail system to the opener unit and secure it to the ceiling or wall. Ensure that the rail is aligned with the center of the garage door and that there is sufficient clearance for operation.
- Attach the Trolley and Door Arm: Connect the trolley assembly to the rail system and attach the door arm to the garage door. Adjust the position and tension as needed to ensure smooth operation.
- Wiring and Power: Follow the wiring diagram provided by the manufacturer to connect the opener unit to power and any additional accessories, such as safety sensors and wall-mounted controls. Exercise caution when working with electrical components and ensure proper grounding to prevent accidents.
- Program and Test: Once the installation is complete, program the garage door opener according to the manufacturer’s instructions. Test the opener to verify smooth operation and make any necessary adjustments to the settings.
Troubleshooting Tips:
- If the garage door opener malfunctions or fails to operate correctly, consult the troubleshooting section of the manufacturer’s manual for guidance.
- Common issues may include misaligned sensors, loose hardware, or programming errors.
- Always disconnect power to the opener before performing any maintenance or repairs to prevent accidents.
Conclusion: With the right tools, knowledge, and attention to detail, installing a garage door opener can be a rewarding DIY project. By following the steps outlined in this guide and referring to the manufacturer’s instructions, you can enjoy the convenience and security of an automated garage door system in no time.


